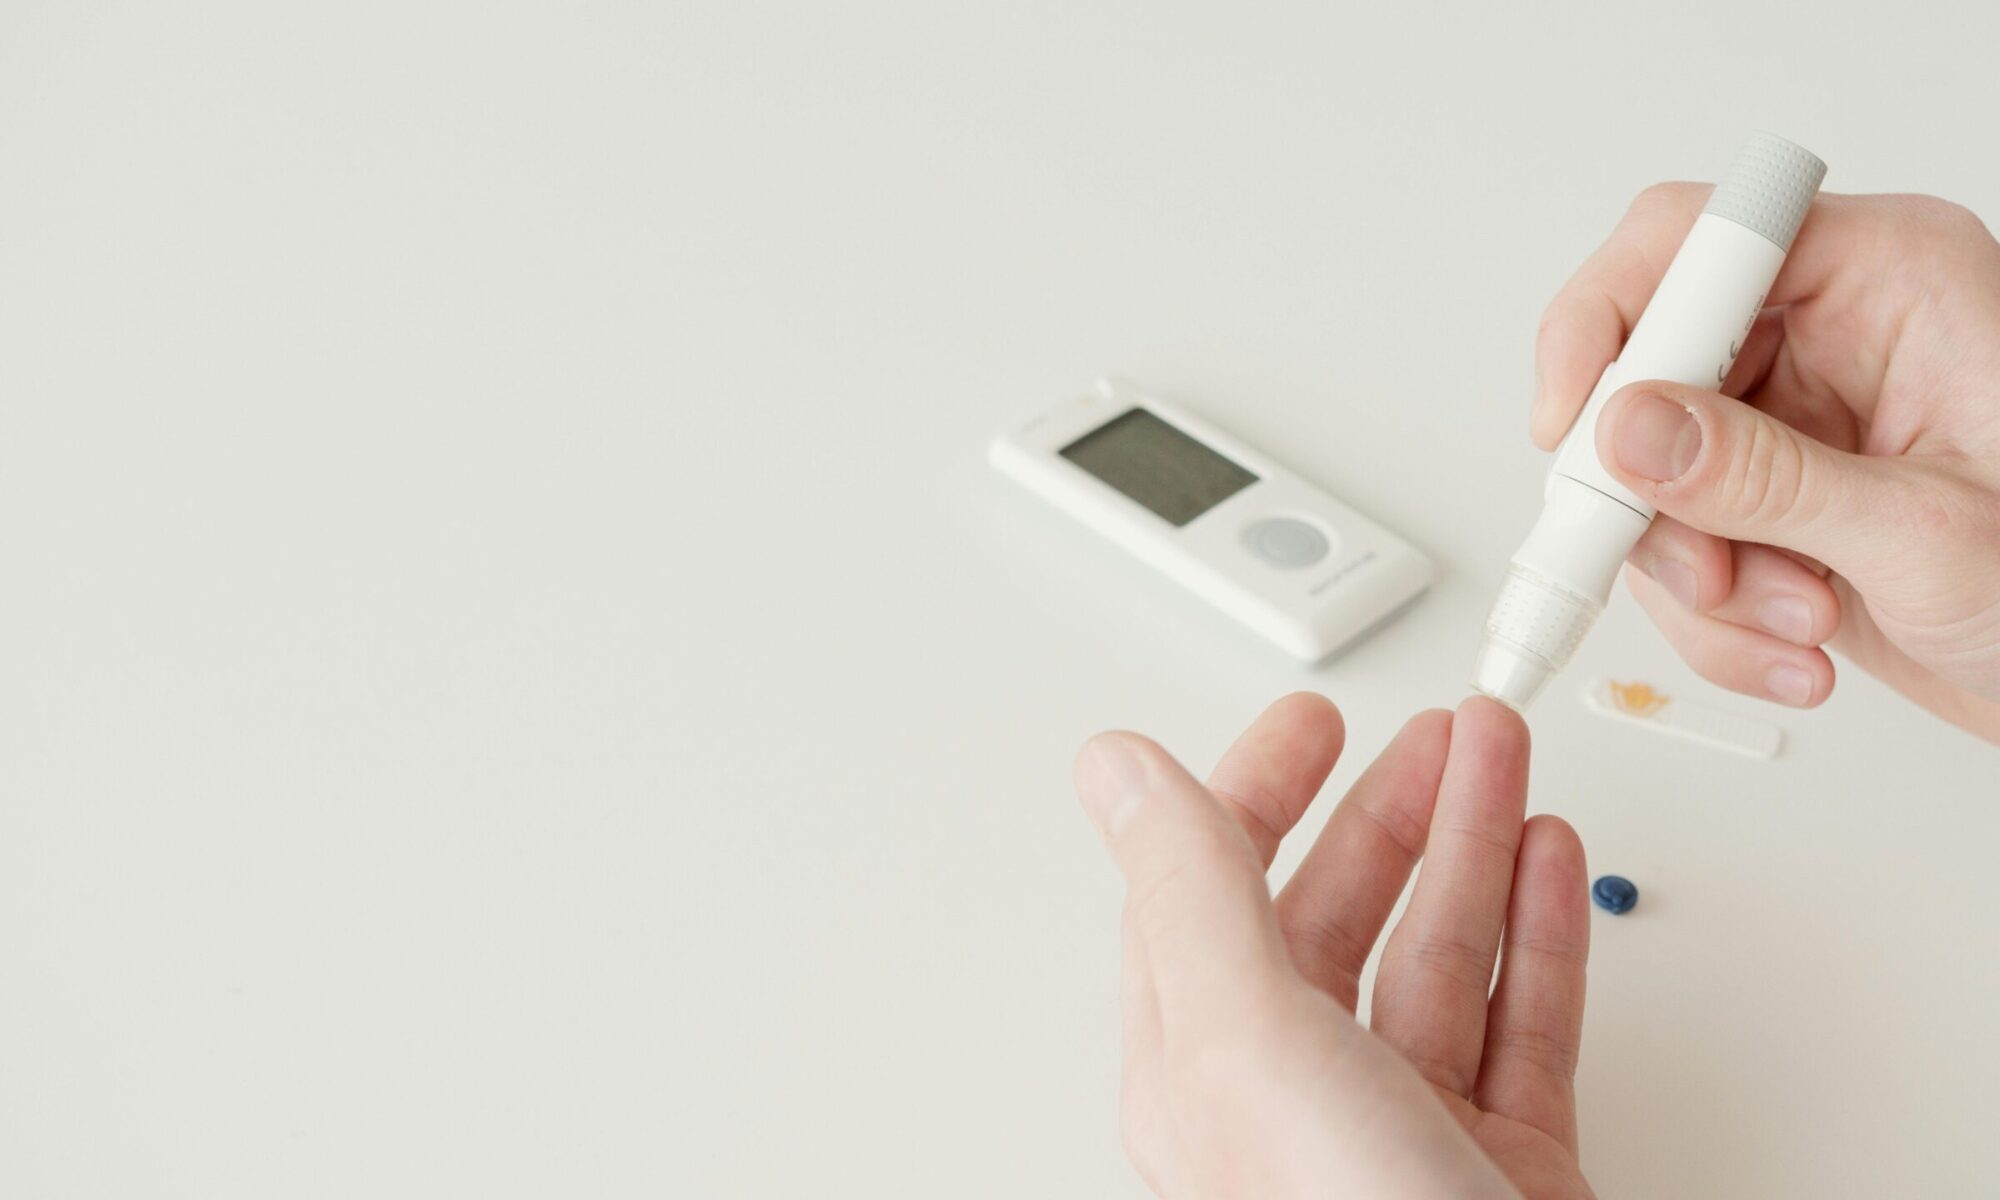
Continuous Glucose Monitors (CGMs) have become an essential tool for many people with diabetes, offering real-time data and trends that help manage blood sugar effectively. To get the most out of your CGM, it’s important to understand best practices for using it during workouts, sleep, showering, and handling installation and removal. This guide provides practical tips to maximize the reliability and lifespan of your CGM.
Installing Your CGM: Tips for Optimal Placement and Comfort
Choosing the Best Site:
- Recommended Areas: Most CGM manufacturers suggest placing sensors on the upper arm or abdomen. These areas provide accurate readings and are less likely to be affected by movement.
- Avoid Scarred or Stretched Skin: Choose a site free of scars, stretch marks, or areas prone to bending or stretching, which can affect sensor adhesion and accuracy.
- Clean and Dry the Area: Before applying the sensor, make sure the skin is clean and dry. Use alcohol wipes to remove oils and dirt, and let the skin air-dry completely before placing the sensor.
Installation Tips:
- Apply During Downtime: For optimal adhesion, install the sensor when your body is at rest (e.g., in the evening before bed).
- Adhesive Help: If you’re prone to sweating or have issues with the sensor staying in place, consider using medical-grade adhesive patches or barrier sprays to help secure the sensor.
Using a CGM During Workouts
Ensure Proper Placement:
- Secure the Sensor: Before engaging in activities that involve significant movement or sweating, make sure your CGM is well-secured with an adhesive patch or bandage to prevent it from coming loose.
- Opt for Moisture-Wicking Gear: Wearing moisture-wicking clothing can help reduce sweat buildup around the sensor, ensuring a stable adhesion.
Monitor Glucose Trends:
- Check Trends Before and After: Reviewing your blood glucose trends before and after workouts helps ensure that your levels are within a safe range.
- Set Alerts: Use your CGM’s alert features to notify you of approaching low or high blood sugar levels during exercise, which allows you to take proactive measures.
Hydration:
- Stay Hydrated: Proper hydration is essential for accurate readings. Dehydration can lead to misleading glucose readings, so drink water before, during, and after your workouts.
Sleeping with a CGM
Minimize Discomfort:
- Choose the Right Side: If you are a side-sleeper, place the sensor on the opposite side to prevent pressure or dislodgement during the night.
- Protect with a Sleeve or Cover: Using a protective sleeve or adhesive cover can help prevent the sensor from catching on sheets or clothing during sleep.
Set Nighttime Alerts:
- Adjust Alert Settings: Modify the alert settings to avoid false alarms during the night while still ensuring you’re notified of critical blood sugar changes. Many CGMs have a “Do Not Disturb” mode with exceptions for urgent alerts.
Monitor Patterns:
- Review Data: Assess nighttime glucose trends to understand if there are recurring patterns of highs or lows that need addressing with changes in your evening routine or insulin dosing.
Showering and Bathing with a CGM
Water Resistance:
- Waterproof Features: Most modern CGMs are water-resistant and can be worn in the shower or during a quick dip in water. However, prolonged submersion (e.g., long baths or swimming) should be avoided, as it may affect adhesion.
- Cover for Extra Protection: To ensure the sensor stays in place, use a waterproof adhesive patch over the CGM during showering or swimming.
Pat Dry After Showering:
- Avoid Rubbing: Gently pat the area dry instead of rubbing to reduce the risk of dislodging the sensor.
Removing Your CGM: Best Practices for Comfort and Safety
Tips for Painless Removal:
- Use Oil or Adhesive Remover: Apply baby oil or a specialized adhesive remover around the edges of the sensor to loosen the adhesive and make removal smoother.
- Peel Gently: Start peeling from the edge and work slowly to avoid pulling on the skin or causing irritation.
After Removal Care:
- Clean the Skin: Wash the area with mild soap and water to remove any adhesive residue.
- Moisturize: Apply a gentle, hypoallergenic moisturizer to soothe the skin and prevent dryness or irritation.
Additional Best Practices for CGM Use
Rotate Sites Regularly:
- Prevent Irritation: Changing the placement of your sensor with each use helps prevent skin irritation and allows previous sites to heal properly.
- Avoid Scar Tissue: Rotating sites also reduces the risk of scar tissue buildup, which can affect sensor accuracy.
Keep a Backup Plan:
- Carry Supplies: Always have backup supplies like a replacement sensor, adhesive patches, and a traditional blood glucose meter in case your CGM malfunctions or needs replacement.
- Emergency Alerts: If your CGM fails to provide reliable readings, it’s essential to have a plan for checking blood sugar manually until you can replace or reset the sensor.
Making the Most of Your CGM
Continuous Glucose Monitors provide valuable, real-time insights into your blood sugar trends, helping you make informed decisions about your diabetes management. By following best practices for installation, workouts, sleep, showering, and removal, you can ensure the reliability and longevity of your CGM. The more you integrate these practices into your routine, the more seamlessly your CGM can help you maintain better glycemic control and overall health.
Disclaimer:
The content on this website/article is community-driven and contributed by non-medical professionals. The observations and views expressed reflect the experiences and opinions of the non-medical community. You are strictly advised to seek the advice or opinion of a qualified medical professional before considering or acting on any information, opinions, or views presented on this website.
View Count: 11 Views

